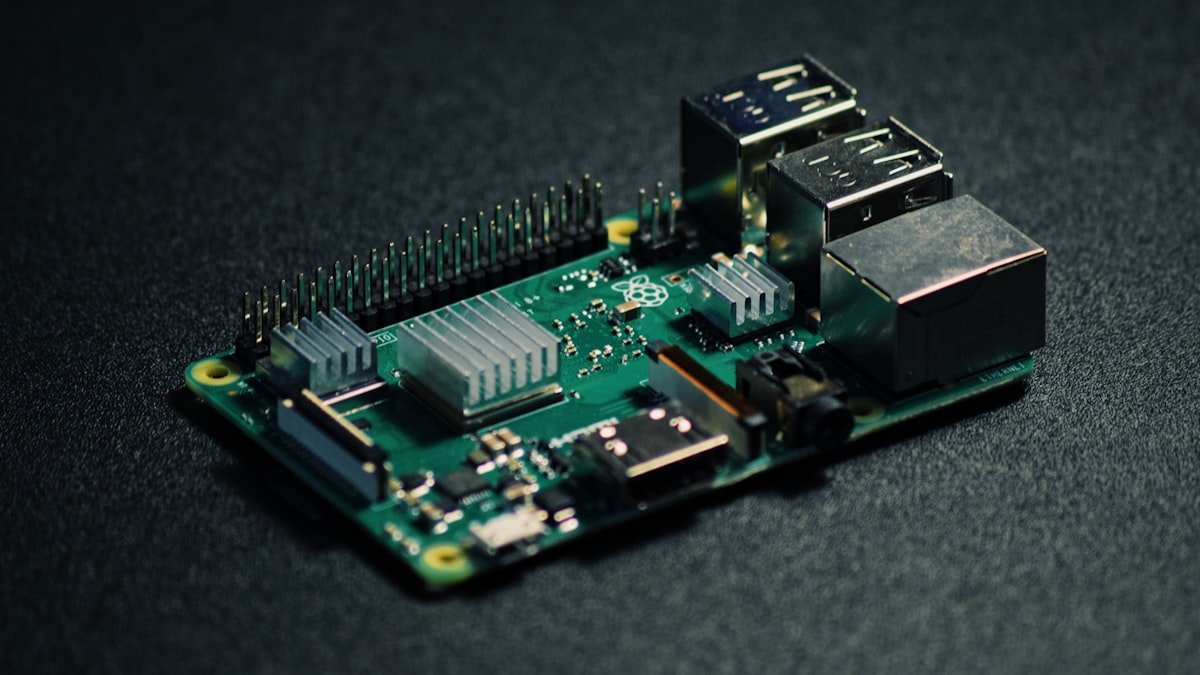
How to setup Ghost on a Raspberry Pi 4 B using Docker-Compose
A quick and easy guide on how to setup Ghost on a Raspberry Pi 4 B using docker-compose

So as you've probably figured by now, this site is hosted on my Raspberry Pi 4 B. I had some difficulty setting it up myself, so I just thought I'd make a how-to guide for both future me and lost souls on the net. So if you found this from Google or similar: Hello, World!
Prerequisites
Let's start with the prerequisites.
For this project, you'll need:
- Raspberry Pi 4 B (or similar models)
- Docker
- About 15 minutes and a cup of coffee
Step 1 | Connect to your PI
I've got my Raspberry Pi hooked up to my router, so to get started, I have to ssh into it. Alternatively, you can just hook it up to display. What matters is that you got a terminal interface to the raspberry pi
Step 2 | Setup the docker-compose.yml file
First off create a directory called "ghost" or similar for where you'll have the configuration file for ghost. CD into that directory and create a new file called docker-compose.yml. Next up, open the file in your favorite text editor I'll be using nano so the command will be nano docker-compose.yml
In the docker-compose file input the following
For a list of all options for ghost see here
After you've edited that to your needs you only need to do docker-compose up -d and ghost will start. On older systems/raspberry Pi's under high load, it may take up to 10 minutes for the database to spin up along with ghost (speaking from experience) whatever you do, DO NOT try to CTRL + C during the startup of the database. This will corrupt it and it'll be a pain in the ass to fix
Step 3 | Success
When all is said and done open up ghost for the URL (or IP) you configured during the configuration of docker-compose.yml
For me, this will be the website you're on right now blog.daddie.dev